100 Days of Yara in 2024: Day 24
After talking with greg for a bit, we both came to the conclusion that many folks may be wanting to work with YARA-X and begin to write some rules with some specific YARA-X features ( Mach-O :P ) or just to see what the differences really are. However, a lot of folks who write YARA rules may not be Rust developers or developers at all. As such, I wanted to document a few ways people could get their YARA-X binaries built and be able to test it without much development knowledge needed.
What is a devcontainer?
In short, a devcontainer is a container that greatly reduces steps in order to get a function environment setup to develop for a specific tool or repository. It comes with the tools and items needed to develop and build the project without needing to install things onto your own computer for it to run or be built. More info can be found here: https://containers.dev/overview. They integrate really well with VS Code.
Quick and dirty devcontainer
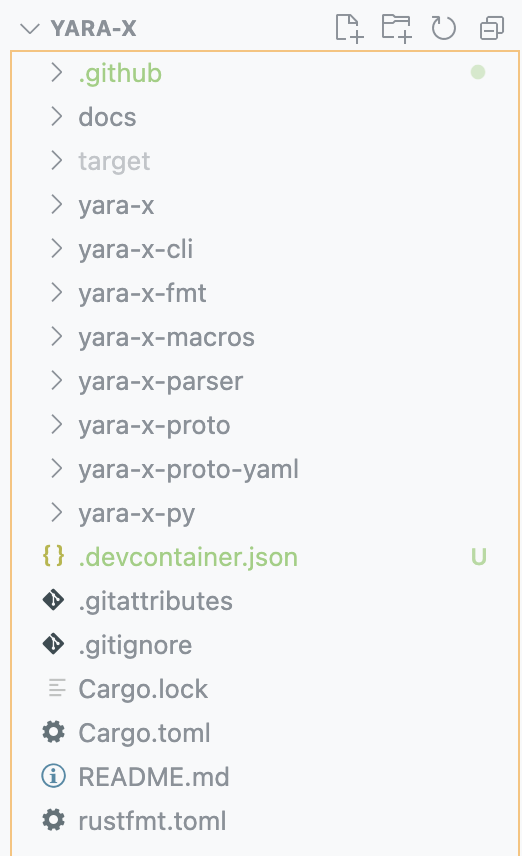
YARA-X doesn’t have an official one in the repository (yet?), so I created a quick one to get it up and running and it can be found in this gist here: https://gist.github.com/latonis/5ab7f4dd9dd86f2402bfcaf4b3830b54. Place this in the root yara-x repository directory: yara-x/.devcontainer.json. It should look like this:
 .
.
How can I test rules?
Here is the one interesting part of this, since we’re building it in a linux based container, Rust, by default, is going to build this binary for linux. If we want to cross compile for multiple operating systems, then we have to bring those tool chains with us, which can be arduous.
Instead, I propose we mount a directory for test rules and test samples to evaluate YARA-X.
This is where the mounts section of the devcontainer.json come in:
	"mounts": [
		"source=${localEnv:HOME}/yara/malware,target=/home/vscode/yara/malware,type=bind,consistency=cached",
		"source=${localEnv:HOME}/yara/rules,target=/home/vscode/yara/rules,type=bind,consistency=cached"
	],
You can change the source entries to be wherever you store your yara rules or malware samples that you’d like to test. They’ll be available in your devcontainer at /home/vscode/yara/.
Prepping the devcontainer
The devcontainer handles almost everything. We still need to build the project though, either in debug mode or release mode. To start, let’s get the devcontainer created. Press CMD + SHIFT + P to bring open the VS Code run window, then type reopen in container and the following should show:

Selecting this allows you to build the devcontainer and open the repository in it.
We then need to access our shell in our devcontainer, which VS Code opens for you when attaching to the session.
Once in the terminal, run cargo build to build YARA-X.

- note: when building in my container it failed once or twice, and i just restarted with
cargo buildagain and it was then successful, they seem to be transient and only appear when building in this container
One finished, you’ll see something like this:

Now, we can run yr scan <rule> <file or directory> and try it out. Remember, your mounted rules are available in /home/vscode/yara/rules/ and your mounted samples are available in /home/vscode/yara/malware/
You can run yr by itself to be presented with a help message and introduction screen.

All in All
Today was a good day for stepping back and allowing others to begin trying out YARA-X and seeing the advantages and how to use them right now. Later we’ll look at a bit more complicated ways to get cross compiling or getting set up on specific operating systems for those who do not want to use docker or containers.
happy hunting :) - devcontainer.json link again so you don’t have to scroll all the way back up